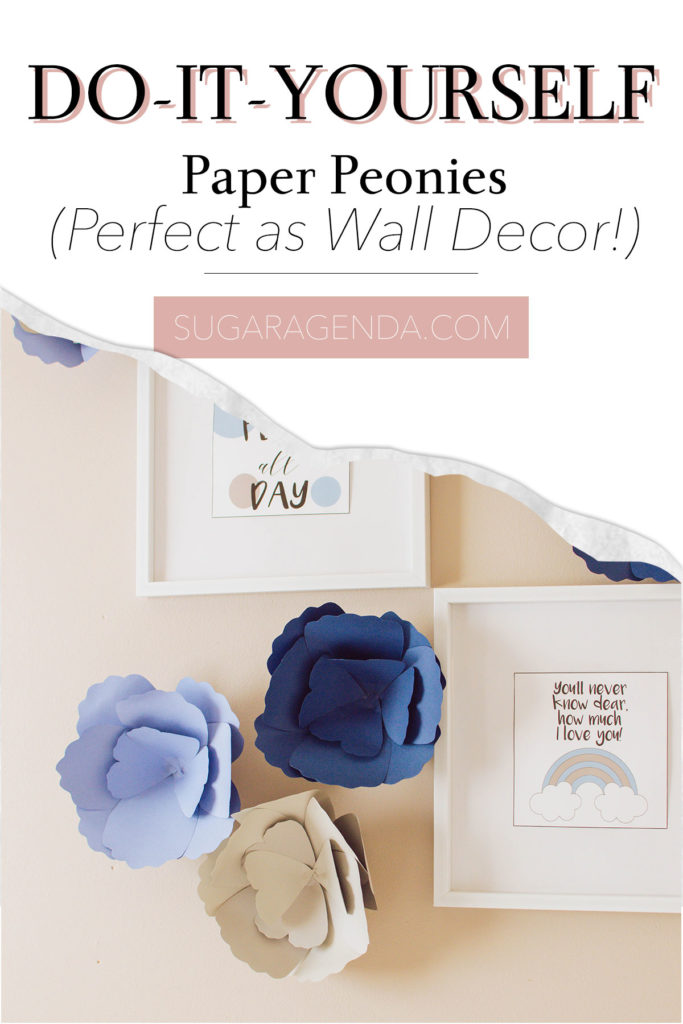
A DIY for easy paper flowers to give your walls the “oomph” they need.
When it comes to decorating my home, I’ve always found myself approaching things with a minimalist perspective. In the past, I tried bright walls and quirky furniture, but quickly switched out pieces/repainted. I’m always one for a neutral space. I love a blank canvas so that I can play around with wall décor – giving me a chance to change it depending on my mood, evolving tastes, or seasons.
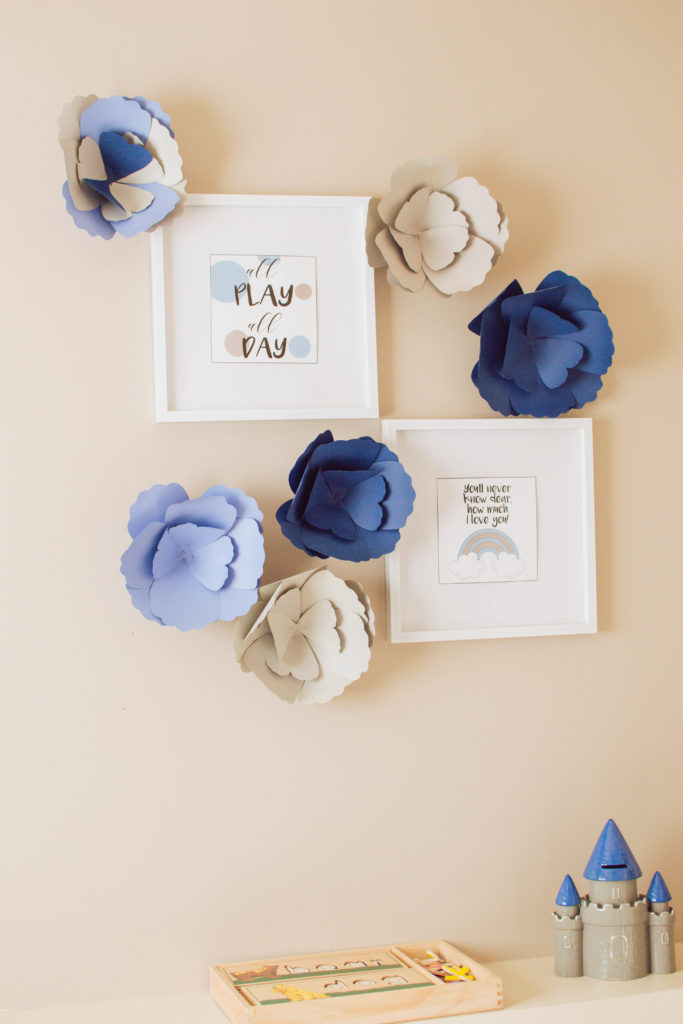
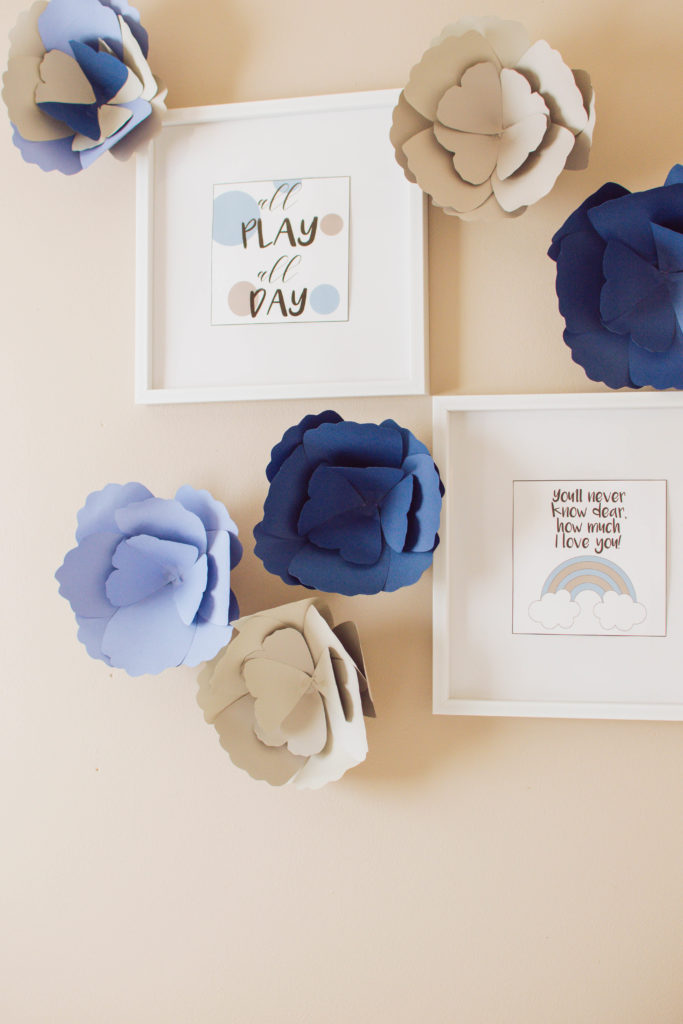
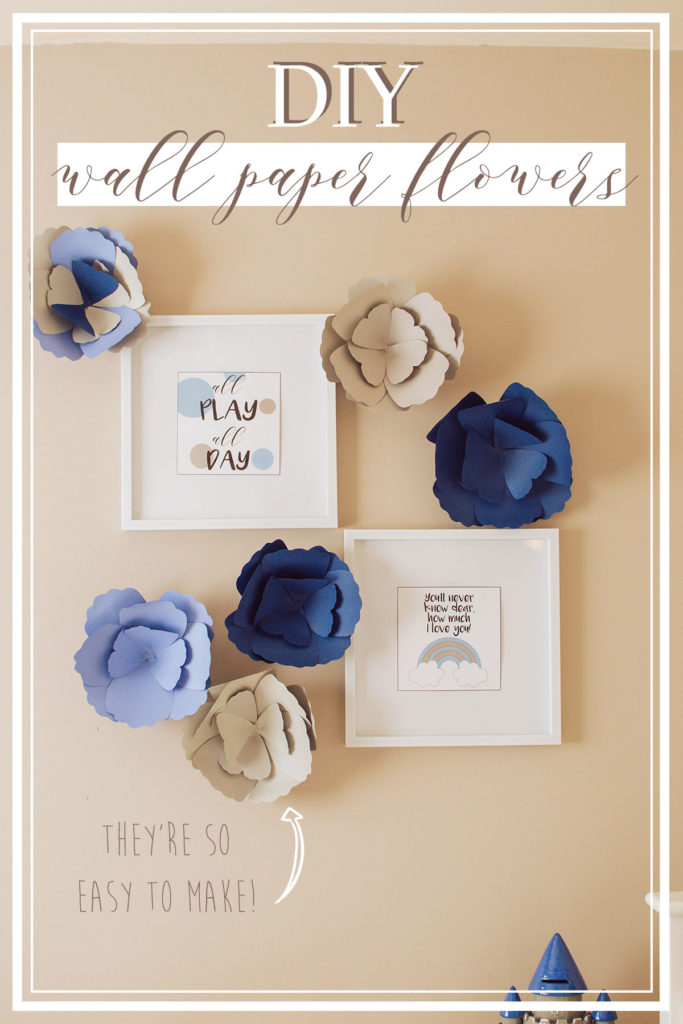
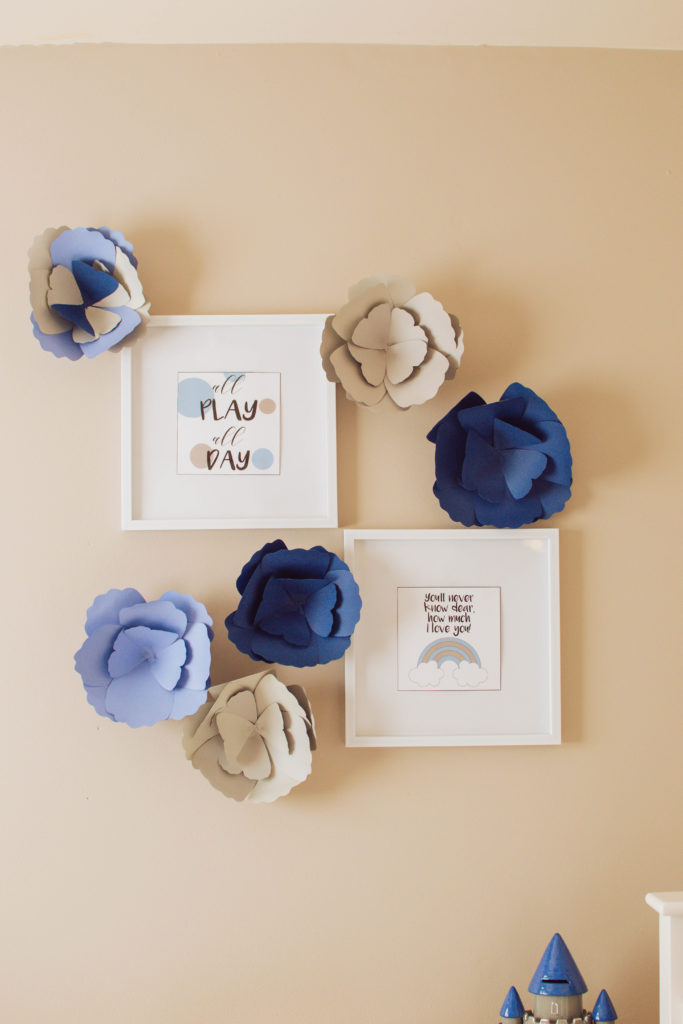
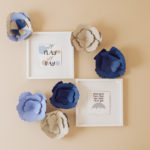
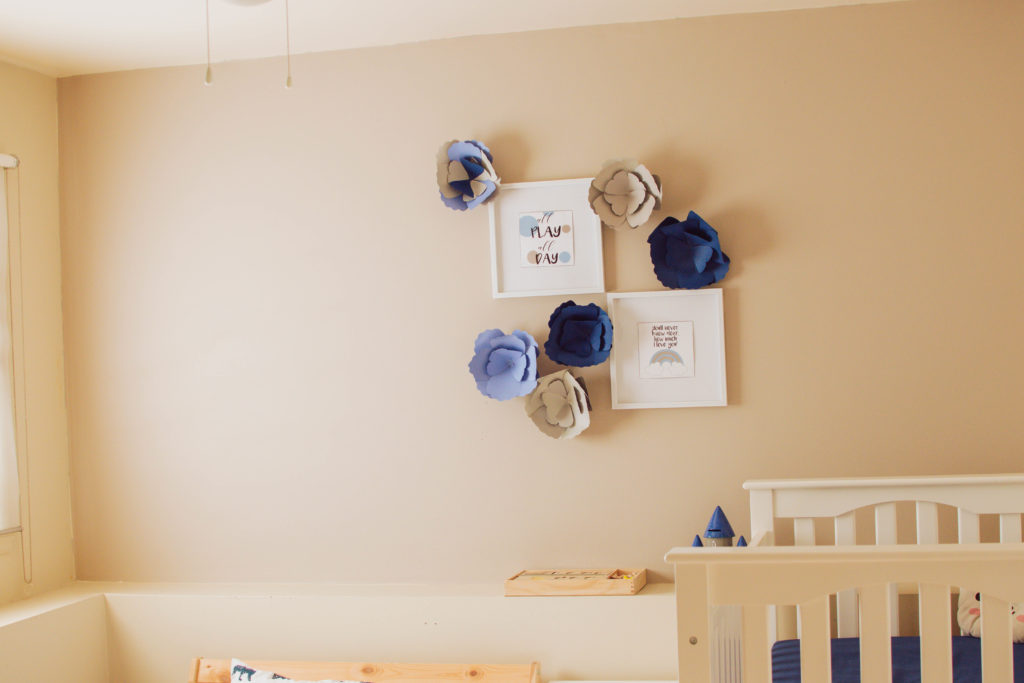
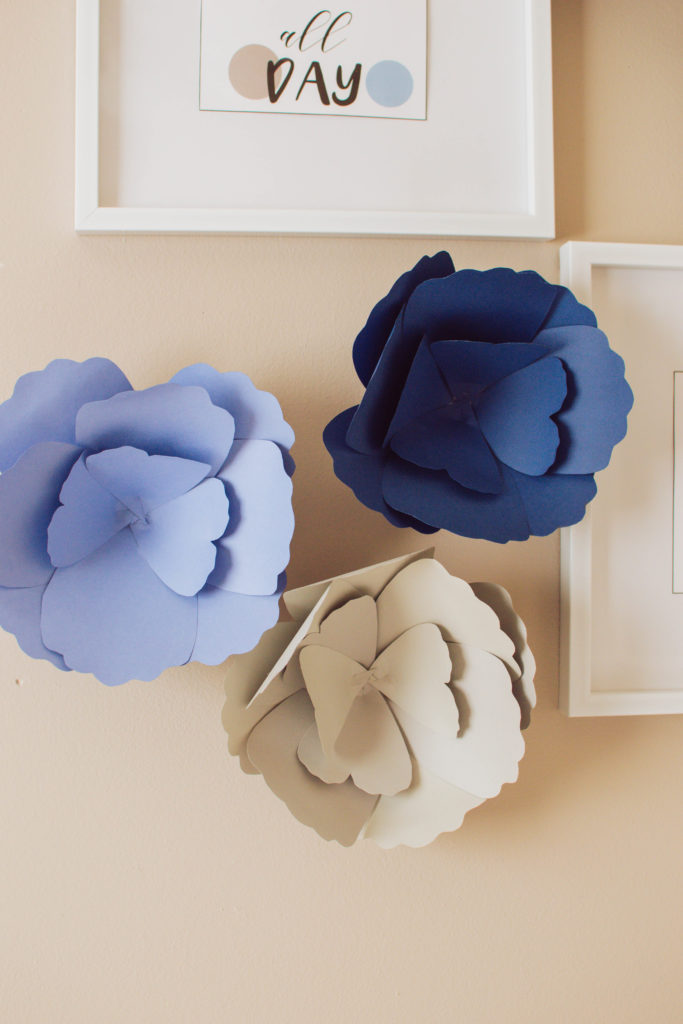
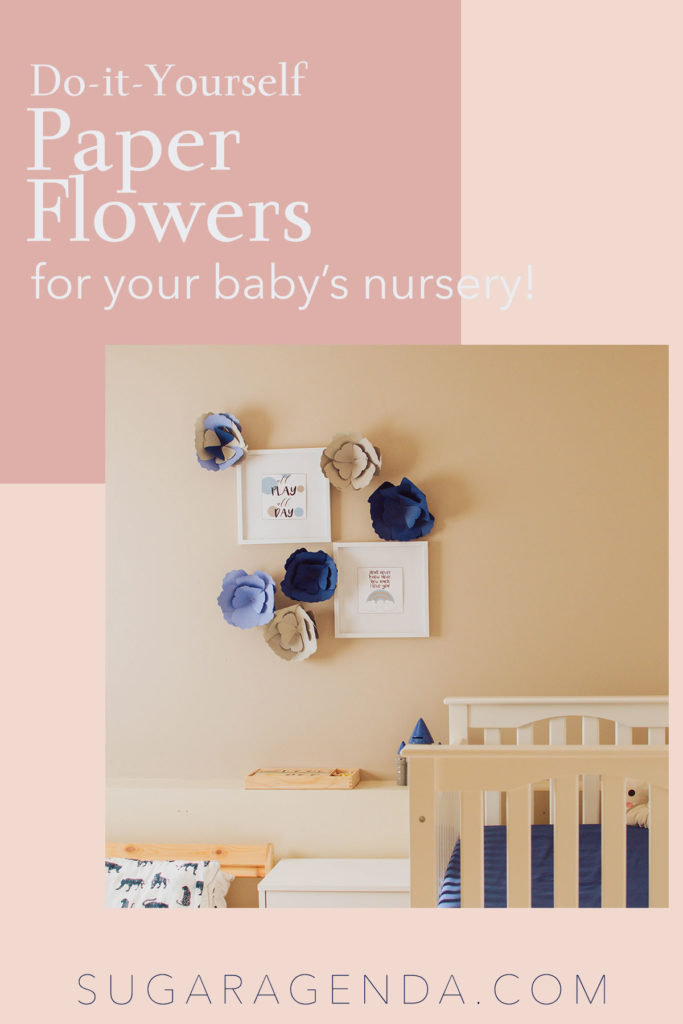
For my little ones’ shared room, I put up paper flowers that I (so proudly!) made myself. They give their room a whimsical touch without being too girly. Of course, to set the tone of the room’s ambiance, it all depends on the color cardstock that you use. I opted for grey and navy to match the overall theme of their room.
How to Make Easy Paper Flowers at Home
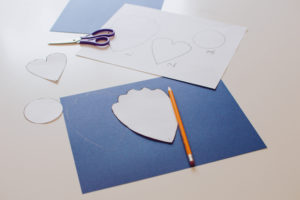
My tutorial for wall paper flowers is very simple. All you need is my free template (which you can download here!), scissors, a pencil, a hot glue gun, and cardstock.
This easy paper flower tutorial does not require any complicated tools to complete. You don’t even need a cutting machine or specialized printer to complete it!
Paper Peony Aesthetic
When I created the template for these flowers, I wanted to make them look as close to peonies as possible. Peonies are one of my favourite flowers – their full petals give off a charming, whimsical feel.
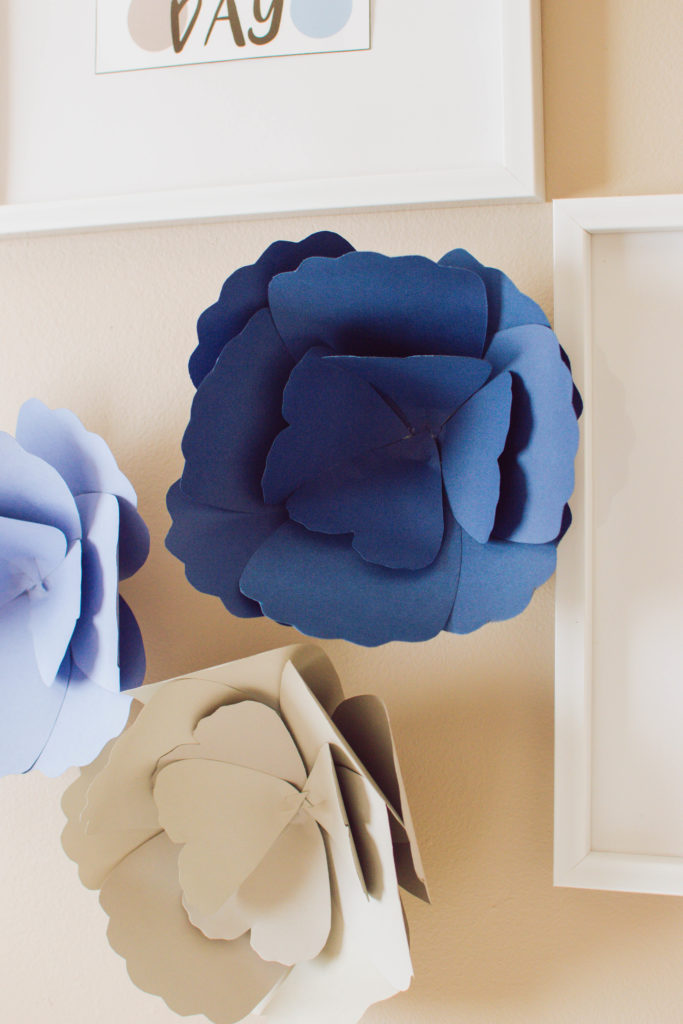
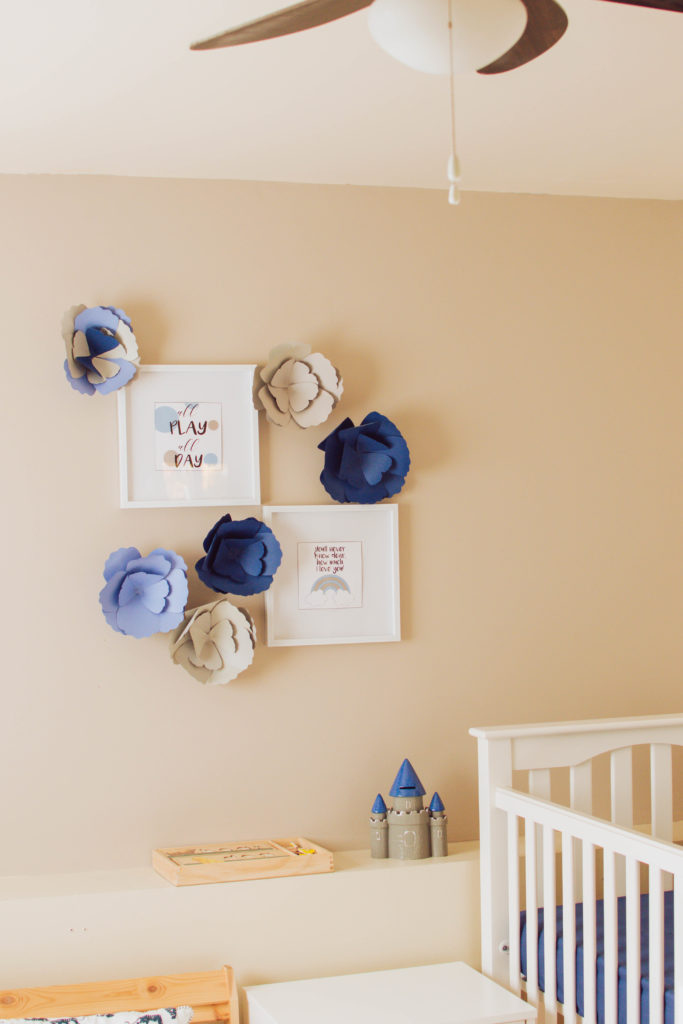
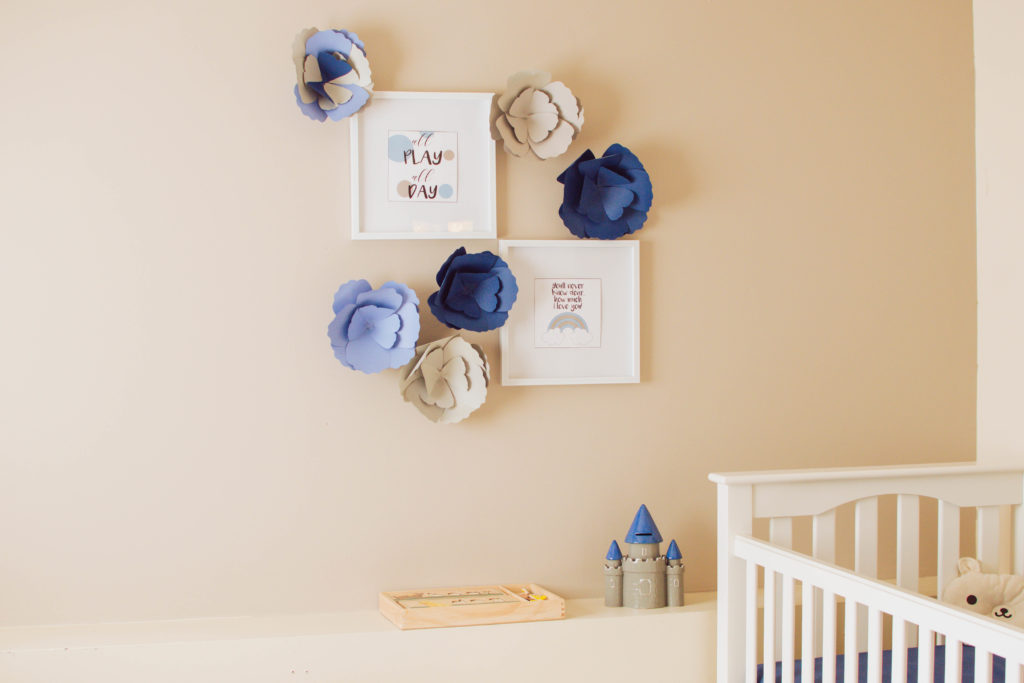
This is why when I came up with this specific floral-inspired DIY, I wanted to use as many petals as possible. I wanted to make the flowers look as full as possible, helping create texture and interest on an otherwise “bland” wall.
Tutorial: Easy Paper Flowers DIY
Okay, it’s time to put together these gorgeous paper flowers! Here’s my full paper flower tutorial. Enjoy and let me know how yours turned out!
Be sure to download our free paper flower template here!
Easy Paper Flowers
Materials
- Paper flower template free for download (just grab it in our blog post, within the text above!)
- Pencil
- Scissors
- Hot glue gun + sticks
- Wooden dowel/large kitchen wooden spoon
- 6-8 65 lb. cardstock sheets 8 ½ x 11 inches (colour of your choice)
Instructions
- Print out the free template on regular printer paper, 8 ½ x 11 inches. Cut out the 3 pieces from the template.
- Trace out shape #1 eight times and cut out each one. You will need shape #2 four times, and one of shape #3.
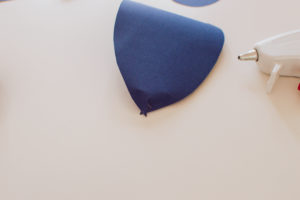
- Cut a ½ inch slit on the pointed end of shapes #1 and #2.

- Add hot glue to the right side of the slit. Overlap the left slide onto the glued portion to give the petals a “cupped” look.
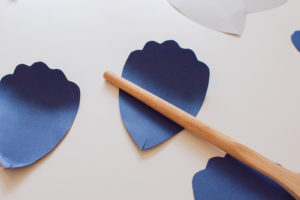
- Use a wooden dowel or the end of a wooden spoon to curl the top of the petals inwards.
- Time to assemble the flowers: starting with shape #1, add glue to the back of the pointed portion of the petal and attach it to the center of shape #3. Start with 4 (make a cross), and then continue with the other 4, filling in any spaces.
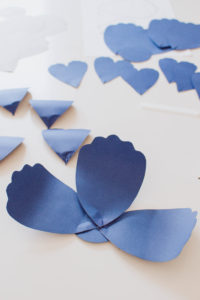
- Continue with all your pieces of shape #2.
- Allow the flower to set and hang up on the wall.


Leave a Reply